Simple Tips For Making Homemade Soy Candles
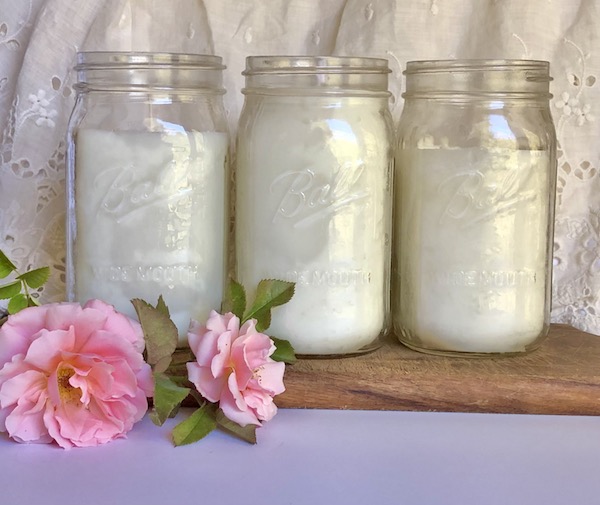
Natural handmade candles are beautiful but also can be quite expensive. I decided to make my own. This was my first experience making candles, so I am going to share things I did wrong, or learned, to help you if you want to make candles. Why did I want to make candles? I just love the ambiance candlelight offers and I also wanted to create my own scents using essential oils. Using soy also made me feel more comfortable since it is organic and more eco-friendly than other materials. Also, with unexpected power outages here in California, candles come in quite handy.
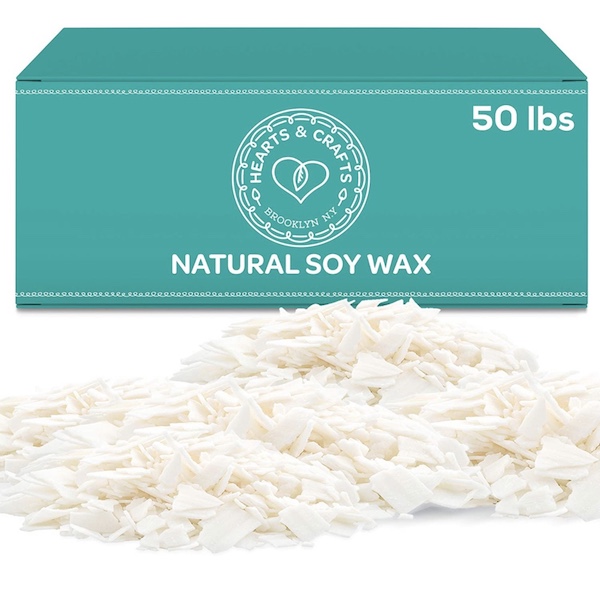
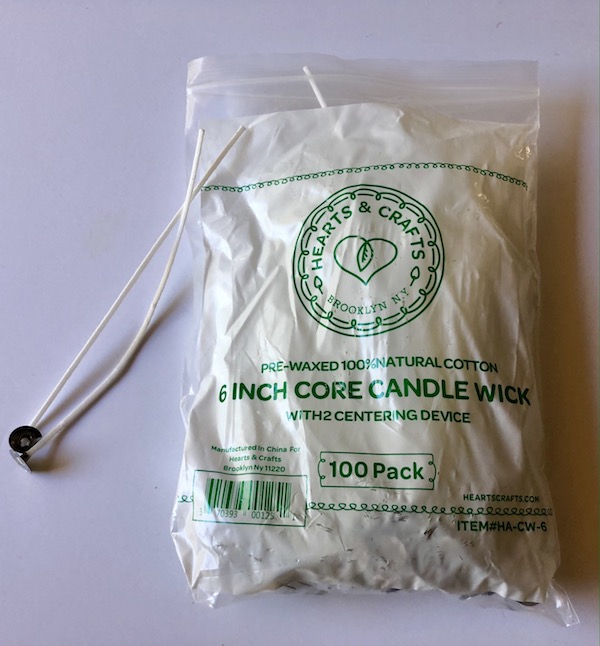
This is what I used. I ordered both on Amazon. The canning jars are leftovers from when I canned plums. Other items you will need include a large pan filled halfway with water, a smaller container such as a large measuring cup that will fit inside the larger pan, and a candy or candle thermometer.
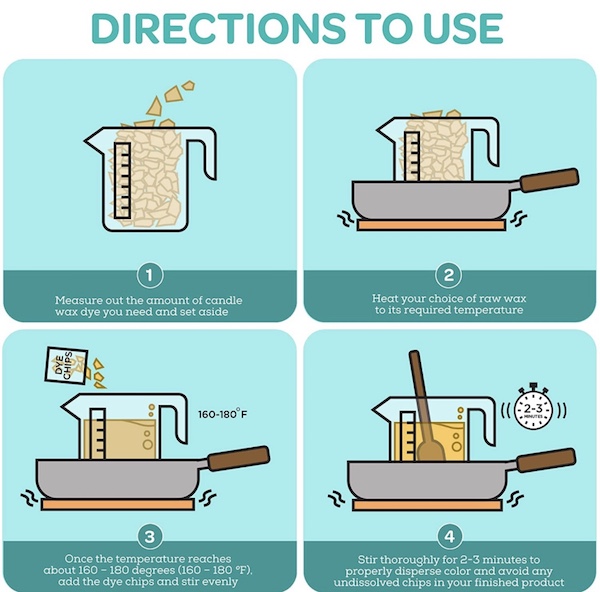
It was great that they included very clear directions with pictures (even though I did not use any dye). If you choose to use dye, be aware that normal food coloring will not work–you have to use oil-based dyes. Once the wax is melted, you can add your scent or essential oil.
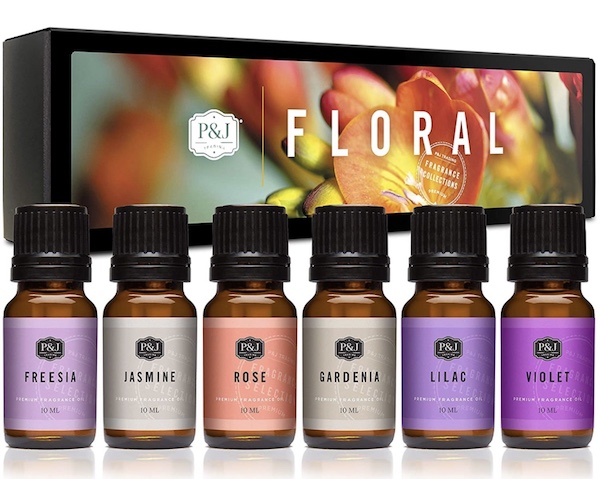
I used floral essential oil scents for my candles including jasmine, rose, freesia, gardenia and lilac.
Helpful Tips I Learned:
- The wax flakes will cook down, down, down and often you only have 1/2 to 2/3 of what you originally measured so plan on adding a bit more than you need at the beginning to avoid this.
- When you add a bit of wax on the bottom of your wick and stick it to the bottom of the jar, wait at least 15-20 minutes for it to dry before pouring your melted wax in. I didn’t wait long enough for my first two candles and the wicks moved away from the center. I had a heck of a time getting them in the center again.
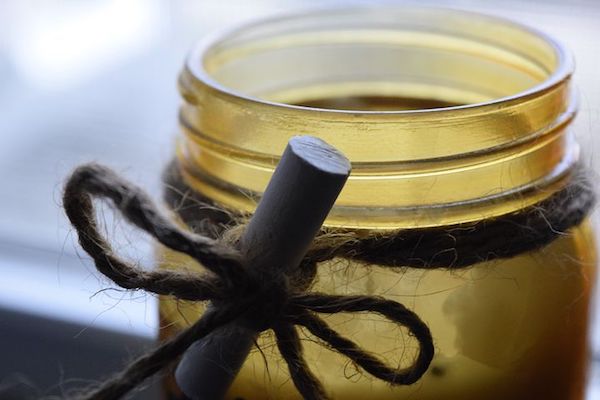
- Know how tall your mason jars will be before you order your wicks. When I ordered my wicks several months ago, I had planned on using short canning jars but then ended up using the tall ones. I only had 6 inch wicks so I tied yarn to the top of the wick and draped it over each side to hold the wick in place.
- Make sure to not add too much essential oil because it can be flammable, I added about 15 drops to each quart jar.
- Use something old or that you can throw away to stir your wax, like an old spoon. I used a wooden spoon but then found that a wooden chopstick left over from Chinese takeout worked just fine.
- The last part of the melting seems like it lasts forever! There are several little chunks that you think will never melt, but hang in there.
- It takes approximately 12 hours for the candles to solidify.
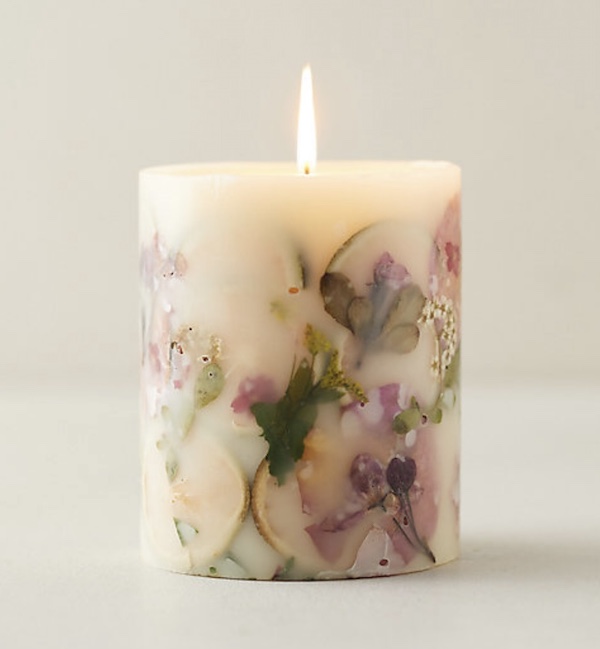
The next time I make candles I am going to try using pressed flowers on the sides to add a bit of prettiness. I love the look of these. Or maybe I will create some cute paper labels to put on the outside. Or add some twine and cinnamon sticks and give some as Christmas gifts.
Thank you for visiting my blog! You may also enjoy Don’t Sweat That Unfinished Baby Book and Get Super Healthy Hair With Herbal Vinegar! Wishing you peace, love, happiness & beautiful vistas.